This offer is currently only addressed to commercial customers. All prices are exclusive of goods and services tax (GST).
Trinetra Fleet Management, Mobility & IoT Solutions


PRODUCT OVERVIEW
Trinetra Wireless is an innovative technology company with proven domain expertise, an advanced hardware design center in Canada, a world-class embedded engineering and software development center in India.
With local presence in 8+ global locations, we also work in partnership with channel partners and system integrators worldwide to provide quality solutions to our clients.
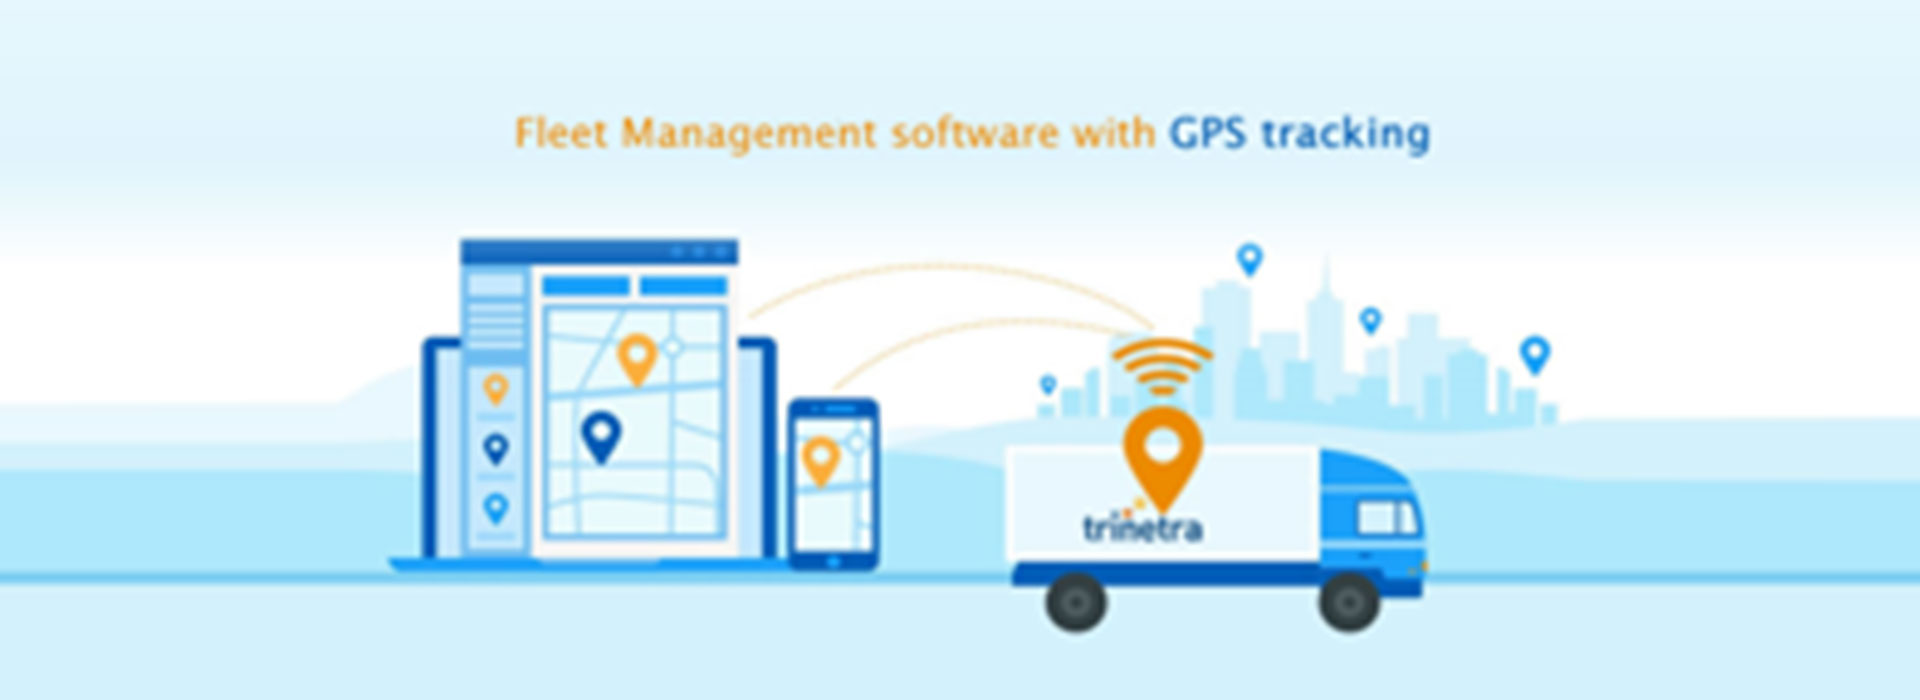
Trinetra is a next generation web-based GPS powered platform providing Real Time Automatic Vehicle Location & Tracking to assit companies manage their vehicles and assests.
Vehicle tracking and Fleet management assist you in monitoring fleets, utilization of your assests and reduction of your operational costs.
Whether you manage a small or large fleet, Vehicle Tracking & Fleet Management can fundamentally change the way you do your business, helping your company work smarter.
PRODUCT FEATURES
An Overview
_0.svg)
Fleet Maintenance
Using GPS Vehicle Tracking, Fleet Maintenance and Scheduling is optimised
_0.svg)
Driver Management
Effectively monitor driver activities, driving patterns, vehicle utilization and alerts
_1.svg)
Route Optimization
Automate route optimization process in real-time to limit travel time and costs
_0.svg)
Fuel Management
Better fuel management and monitoring is a determining factor in profitability and ROI
We are always here to answer them. Some frequent ones being...
i. Create a new user in Configuration->Manage User->Add user.(fill in all required details and save)
ii. Click on User assignment from Fleet management in configuration page. You can assign user to a particular fleet by selecting the fleet and select user from unassigned table.
With Trinetra FMS solution for fleet tracking, you get a tailored dashboard which provides you alerts & notifications on violations and idling durations and location of your fleet and much more.
Once clicked on the live monitoring from the monitor page, kindly wait till the device communication is stable to open a new window and device will plot the current location and live tracking will be updated for every 30 seconds till the live tracking gets ended.
Go to Configuration->Manage Vehicle->Select particular vehicle and edit icon. You can able to add the mail ID from created user in manage notifications
In Geozone page, Click assign Geozone .Vehicle will be listed in the dropdown and created Geozone will be show in the table. After selecting the particular vehicle and geozone that are to be mapped click assign or add Schedule to send command to the device. Scheduled command result can be seen in schedule history section in configuration page
Yes. Our solution supports multiple user log-ins by which the information can be restricted to different users.
You will be provided with logins to Trinetra app which you can download on your smartphone. The app is available both for iOS and Android.
User can see/download the reports with just one click by selecting the Report Type, Date, and Vehicle Number. The reports are available in Pdf, excel, word and HTML format and includes information related to Vehicle Trips summary, Idling, Violations, Geozone activities and many more. These reports can automatically be emailed to multiple recipients.
In Reports page, Select the report type, vehicle, From and To date, click on schedule report and fill the effective from and effective till date(If no end date option is clicked, this schedule will occur as per the frequency given).Frequency of the report is set the report generate time is picked as well. Click on email to option to select the mail ID and save. You can verify the schedule report by clicking on view scheduled report button in reports page.

